About this blog series
It’s easy to find on the internet the awesome stuff that can be done with Neovim, a bunch of customizations, excellent plugins, and, best of all: writing at the speed of thought.
However, achieving such greatness can sometimes feel impossible. While Neovim can offer a lot, it requires effort and time to set it up and customize it to your liking.
In the past, I’ve found myself countless times trying to set Neovim as an IDE just to be overwhelmed and confused by all the needed information to do it properly.
Some might think it’s overcomplicated to spend time configuring your IDE (I was one of those people). We want to be productive as soon as we open the editor. But you realize that in the long run, the time invested in creating what TJ DeVries (Neovim’s core maintainer) calls PDE (Personalized Development Environment) will allow you to become highly productive the more you make the IDE your own.
This blog series is what I’d liked to have available when starting my Neovim journey. I’ll explain in detail whatever we do, no mindless copy/paste. I want you to understand what we are doing so you later know how to do stuff your way. I hope you find this helpful.
Knowledge Requirements
I don’t expect you to be 10x engineer to follow along. However, some foundational knowledge will be helpful while going through the posts.
For example, I expect you to know basic terminal commands and how to move around in Vim/Neovim, the different modes it has, how to navigate using j,k,h,l, and most importantly, how to quit Vim/Neovim.
Installation
We first need to install Neovim on our computer to start our journey. My preferred way of doing it is using Homebrew. However, if you’d like to use a different method, you can check the available options in the documentation. It is also important that the version installed is 0.9.1+. If you already installed Neovim with a previous version, you will need to update it.
We will also need to install Nerd Fonts. If you’re wondering what’s that, it’s a collection of fonts modified to have icons added to them. It will be helpful later down the road to have icons displayed to us depending on file extensions. So using Homebrew, run the following command.
brew install neovimTo confirm that you got it installed, you can run the following command, and you should get a version number displayed.
nvim -vTo update Neovim using Homebrew run.
brew upgrade neovimNow to install Nerd Fonts, we are also going to use Homebrew. As fonts are not part of Hombrew’s core, we first need to tap into the correct repository and install the desired font later.
This installation method not only works for Nerd Fonts. You can install various fonts this way, and you can check the repo to see which ones are available.
Tap into the Cask Fonts repo
brew tap homebrew/cask-fontsInstall Nerd Fonts
brew install --cask font-hack-nerd-fontWith that out, now is the time to start the long but fun configuration process.
Starting our configuration
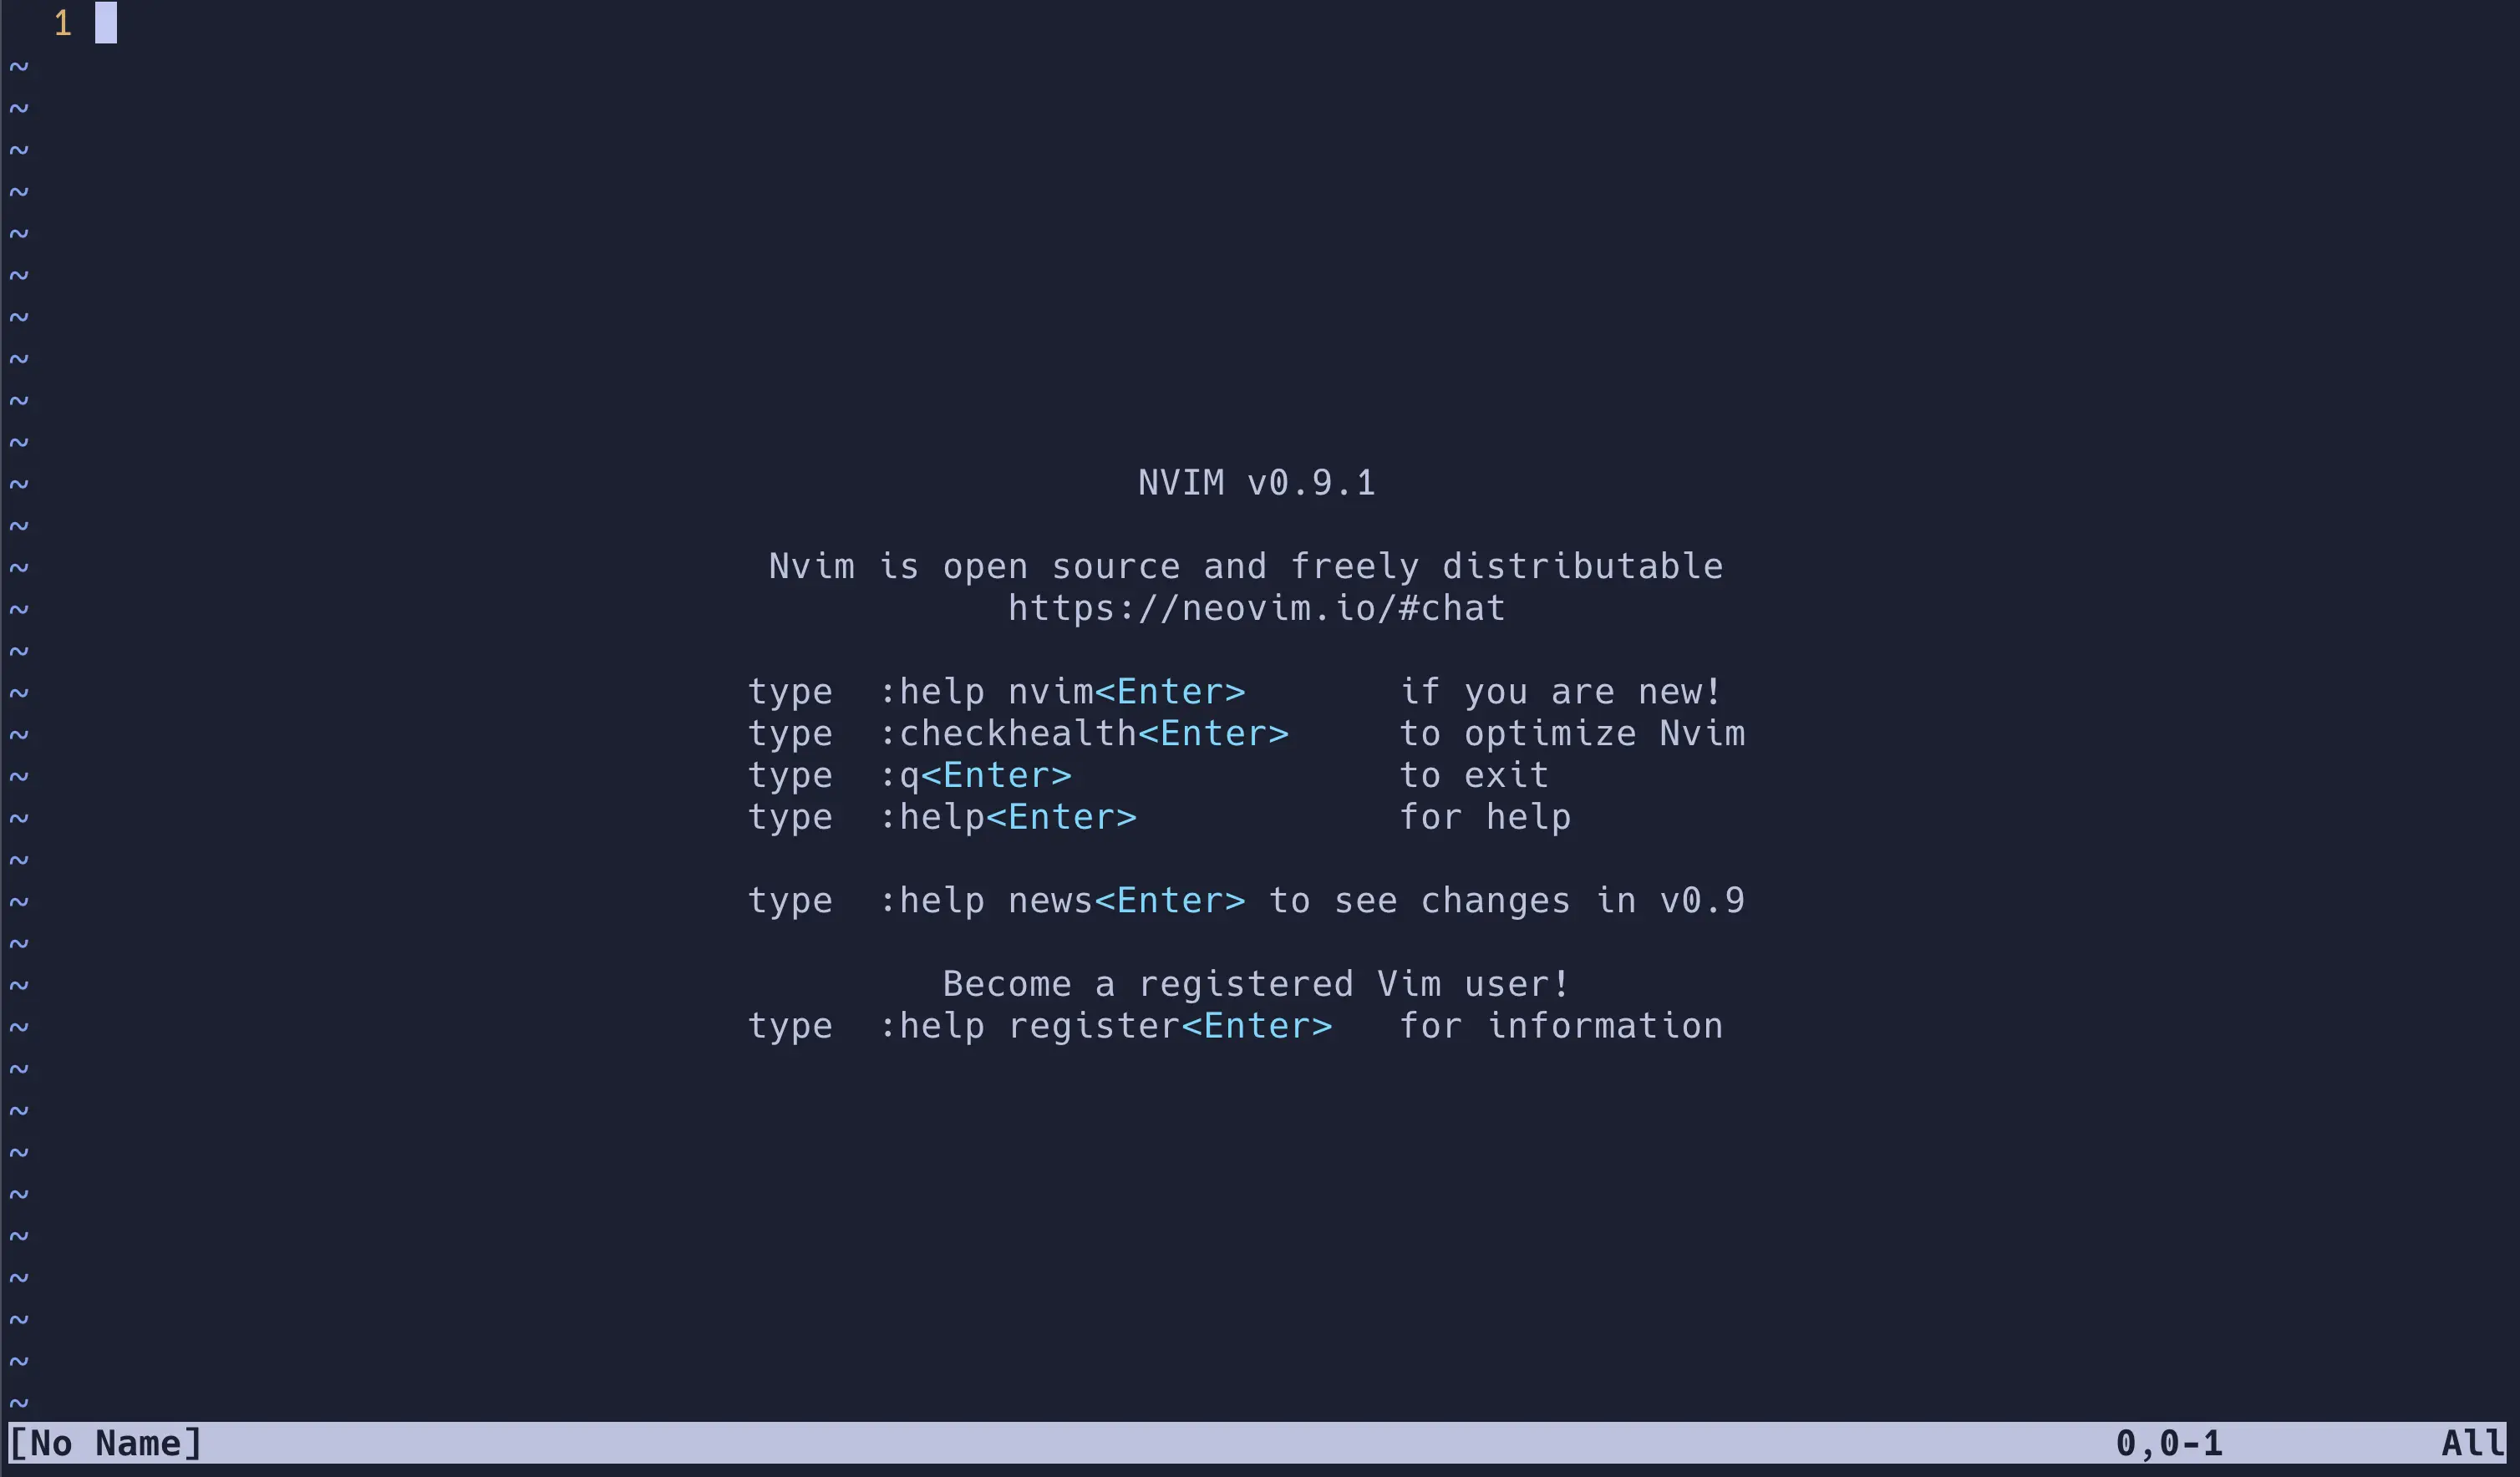
Neovim can be run anywhere in our terminal emulator using nvim command. We can just run nvim and we will be shown the following screen.
nvim
This only gives us a little info, just some Ex commands we can run.
InfoEx commands are keys or words to perform certain tasks while in Command Line mode. To get into Command Line mode while in Normal mode press the colon key : and your cursor should change to the bottom of the window. Then, you can type commands that you want to execute.So whenever you see
:somethinglikethisin anything related to Vim/Neovim, now you know it is an ex command and how to run it.
I created a starter repository, which is a basic Remix app. You don’t need to know Remix. The goal of the repository is to explore Neovim features and the plugins we install. You can find a link to the repo here.
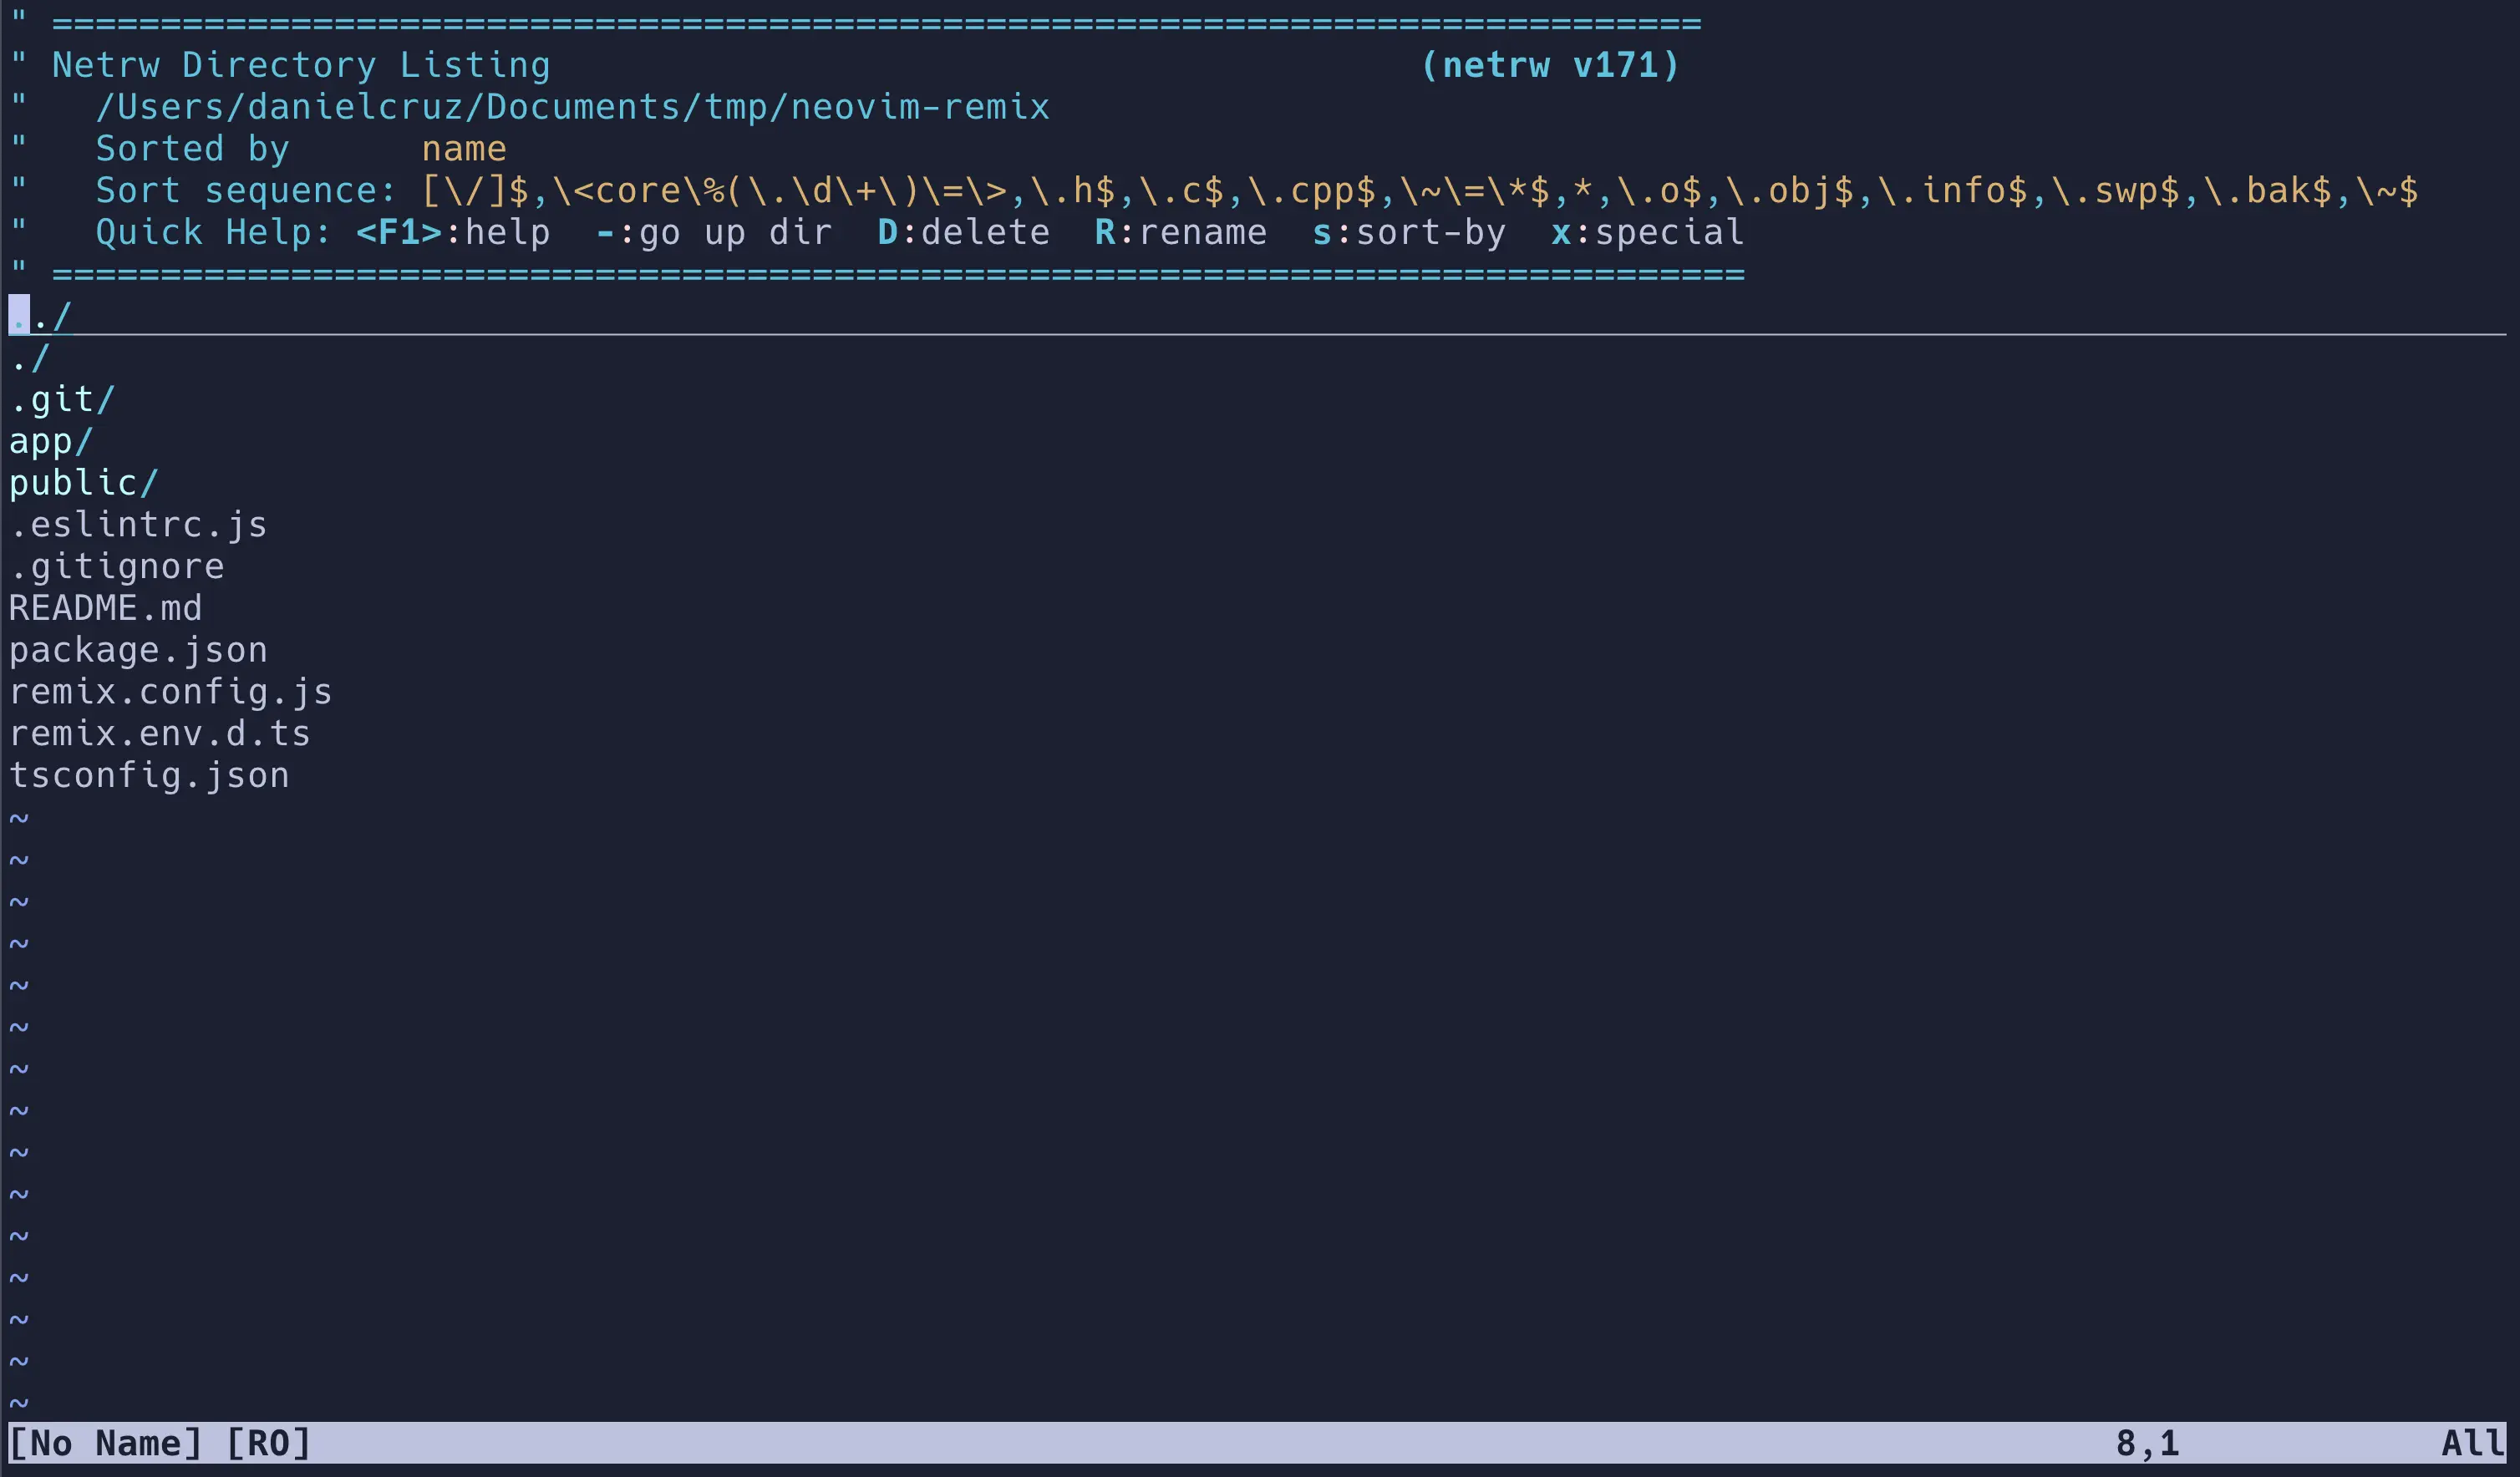
Once you have cloned the starter repository, and after you are inside of it, you can run nvim ., This means “open Neovim in the current working directory” and we will be presented with the following screen

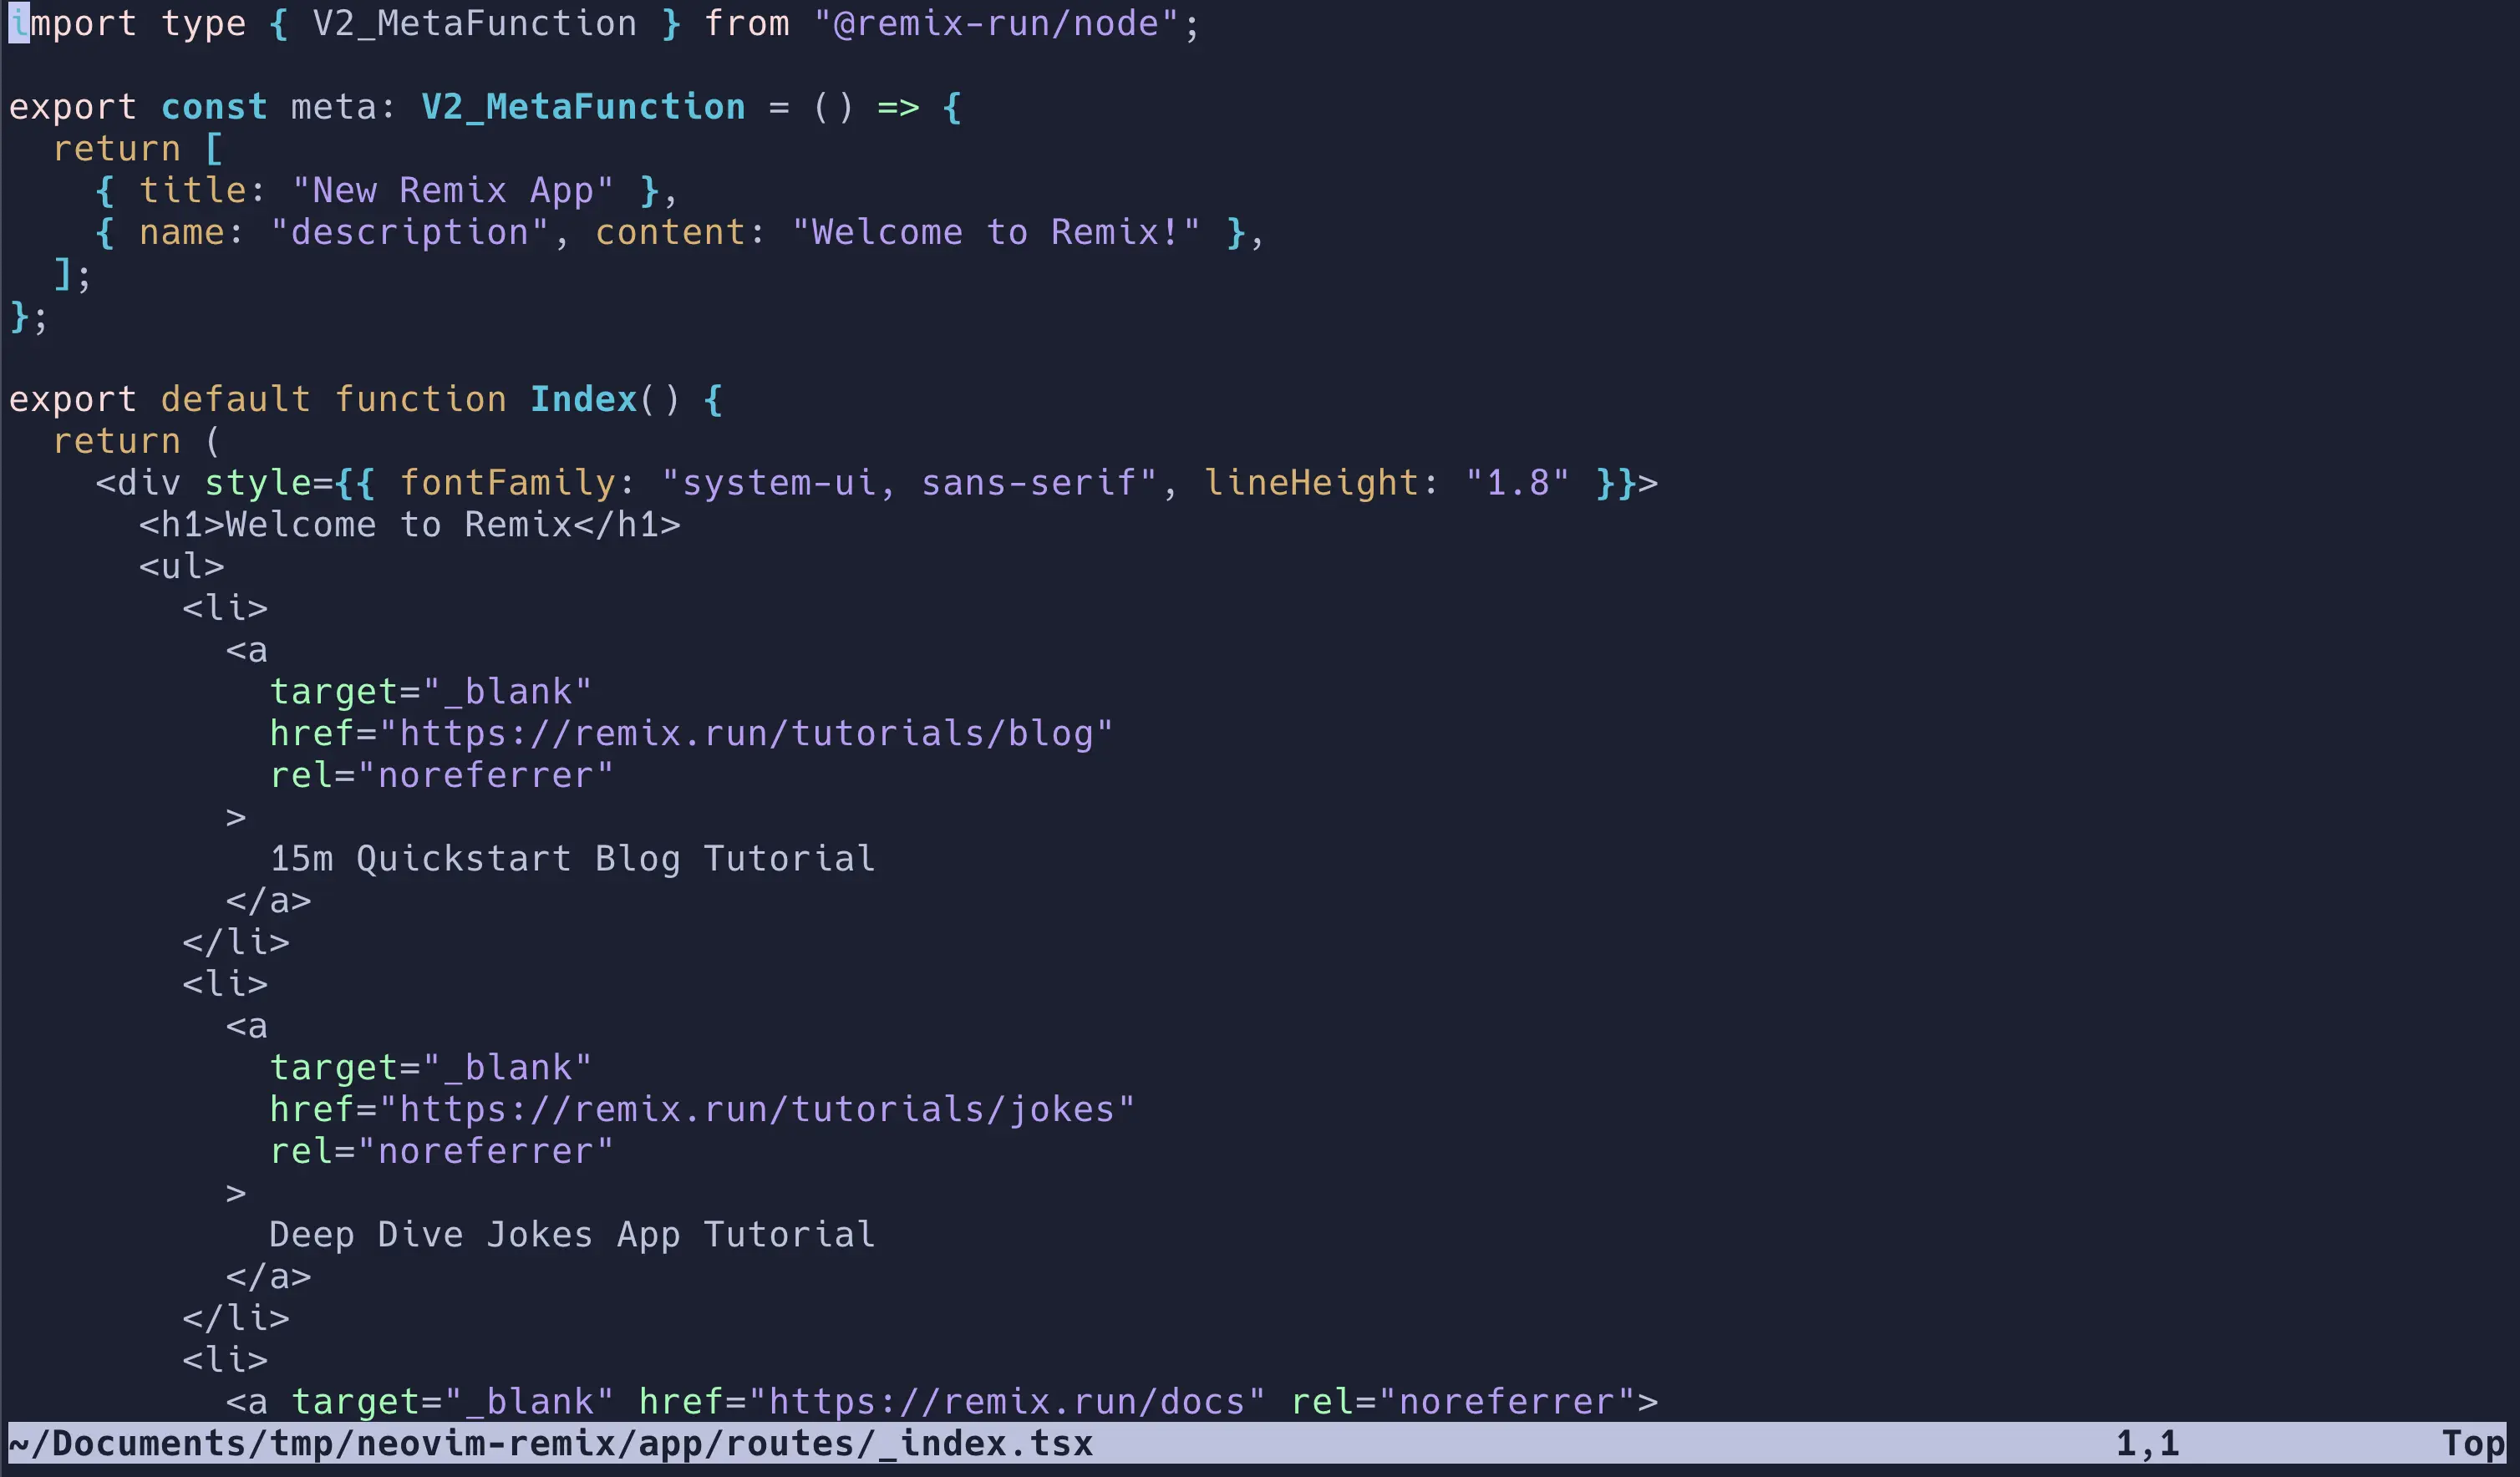
That is Netrw Vim’s native file explorer. We can move around with the same motions as files meaning j,k,l,h, and hit Enter to open directories and files. Open the app directory and then the routes directory, and finally the _index.tsx file

Your color scheme may differ depending on your terminal settings, but if you try to edit this file, you can spot right away that we don’t have much of the sweetness of an IDE. No autocompletion, line numbers, syntax highlighting leaves much to be desired, etc.
Standard Paths and init.lua
Neovim supports having a configuration file to customize the editor. This file can be written in either Vimscript or Lua. However, we will do our configuration using Lua, which in my opinion, is easier to understand and maintain.
WarningThe support for Lua as a configuration file is something implemented in Neovim and not supported by Vim as of the writing of this post.
Neovim follows XDG Base Directory Specification, meaning that it stores information related to it in standard locations.
I’ll tell you the paths where we need to store our configuration throughout the series. If you want to know more in advance, check Neovim’s docs
The three things that we need Neovim our own are:
- Options
- Keybindings
- Plugins
The path where we need to store our Neovim configuration and put the three things we need is ~/.config/nvim. If you already have installed applications that follow XDG Specification, you will likely already have a .config directory in your home directory. If not, create one, and inside it, create another directory called nvim. This directory is where we will put the files and directories that do all the magic.
Start by creating an init.lua file. This file will be an entry point to require other Lua modules and make our configuration easier to maintain. For now, let’s put some options inside it to make sure our configuration works.
The way to set options in Neovim is through vim.opt.optionname, if we want to set numbers in our editor we can do it with vim.opt.number = true. After saving and sourcing our init.lua file, we will see the changes
Type the following
-- init.lua file
vim.opt.number = true
Then save the file by running ex command :w
And source the current file with the ex command :source %
InfoIn Neovim, the command “:source %” is used to reload the current file that is open in the editor. The ”%” symbol is a shortcut that represents the current file. The “source” command is used to execute the contents of the file, in this case, our init.lua file
After that, you should see number lines in your editor.

Now that we know that our config is working, we will create some directories to help make our configuration more manageable. I’m also going to give a quick explanation of how Lua modules work in Neovim.
Inside ~/.config/nvim, create a directory named lua; inside that directory, make another one with either your username or just the word user. Finally, inside that directory, create a file called options.lua.
In the end, you should have this file structure.
📦 ~
└─ .config
   └─ nvim
      ├─ init.lua
      └─ lua
         └─ user
            └─ options.lua
Cut and paste vim.opt.number from init.lua into options.lua. After saving both files, you will notice that our line numbers are gone. That’s because the entry point for our configuration is init.lua, and the rest of what we created is only helpful for us and not for Neovim.
Inside of init.lua type
require("user.options")Again, we need to save and source init.lua for the changes to appear. We will do it with a shortcut of the command we already saw, :so % where “so” stands for “source”.
Line numbers should be showing again.
Effectively, what we are doing is calling the Lua function require and passing it the path of our option configuration.
If you pay close attention, you’ll realize that there are a couple strange things:
- First, we are calling the function from
init.lua, which is sibling withluadirectory and notuserdirectory - We omitted the
.luaextension
This is because, by default, Neovim will prepend /lua and append .lua to our string when using the require function. It is also worth mentioning that Neovim uses a variable called runtimepath to look for configuration and script files, and specifically for Lua modules it will look in runtimepath/lua/.
Inforuntimepath is a string containing a list of directories. You can check its value by running :lua print(vim.o.runtimepath). Learn more in Neovim’s documentation
Also worth mentioning that we use dots instead of slashes to go down the file tree, this is to follow Lua’s module conventions.
We are leave our current options file with only the line number option for now, and come back to it later in another post.
In the next post we are going to learn what a plugin manager is, install one (Packer), and begin installing basic plugins to understand how they work.